The Ultimate Guide to Replacing any UTV's CVT Belt
Share
When it comes to maintaining your UTV, one of the most critical components to keep an eye on is the CVT belt. Over time, this belt can wear out and may need to be replaced to ensure optimal performance. But how exactly do you go about replacing a UTV's CVT belt? This ultimate guide will walk you through the process step by step.
Step 1: Gather the Necessary Tools
Before you begin the replacement process, make sure you have all the tools you'll need. This typically includes a socket set, torque wrench, and a service manual for your specific UTV model. Having the right tools on hand will make the job much easier and ensure a successful replacement. Some UTV'S will require a special tool that is readily available by make and/or model on Amazon. Be sure to look for this before starting your project as it will save you ton's of time and keep you from taking your machine into the shop!
Step 2: Locate the CVT Cover
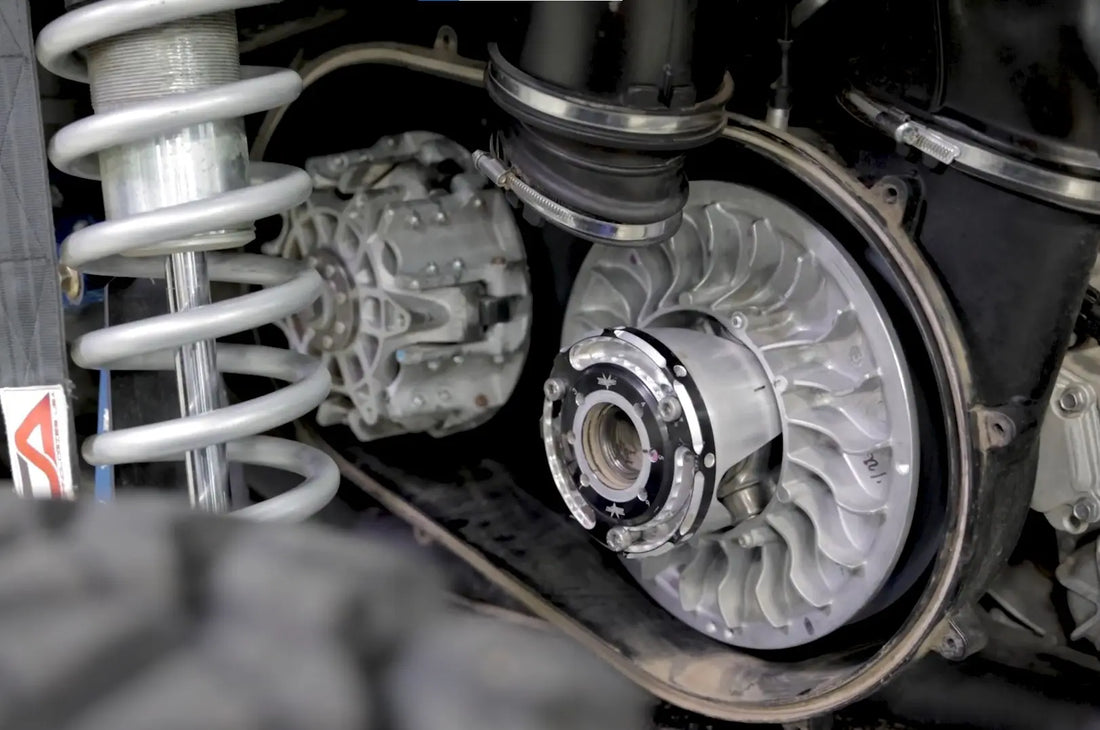
The CVT belt is housed within the CVT cover, which is usually located on the side of the UTV's engine. Use your service manual to locate the cover and remove any components blocking access to it. Once you have clear access, you can proceed to the next step. If you don't have a service manual, you can also check out this video on our YouTube channel.
Step 3: Remove the Old Belt
Using your socket set, carefully loosen the bolts securing the CVT cover in place. Once the cover is removed, you will have access to the old CVT belt. Take note of how the belt is routed around the pulleys before removing it to ensure the new belt is installed correctly.
Step 4: Install the New Belt
With the old belt removed, it's time to install the new CVT belt. Follow the routing diagram in your service manual to ensure the belt is properly installed around the pulleys and in the right direction (depending on the make/model). Once the new belt is in place, carefully reattach the CVT cover and tighten the bolts to secure it.
Step 5: Test the UTV
Before taking your UTV out for a ride, it's essential to test the new CVT belt to ensure it is functioning correctly. Start the engine and engage the transmission to see how the belt performs under load. Listen for any unusual noises or vibrations that could indicate an issue with the installation.
By following these steps, you can successfully replace the CVT belt on your UTV and keep it running smoothly for years to come. Remember to consult your service manual for specific instructions tailored to your UTV model, and don't hesitate to seek professional help if you encounter any difficulties during the replacement process.
